My Personal Blog: Hosted on a Small Computer

This is a simple project that took me less than two hours to complete. I won’t detail every single step, as software and OS versions change constantly; if you get stuck, just ask an AI for the latest instructions.
1. Find or Buy a Computer You can certainly reuse an old computer, but I chose a new Raspberry Pi 5 (8GB). These "micro-computers" are wonderful—they are perfect for IoT and server projects, have a massive community, and consume very little power (around 10 watts, similar to a light bulb).
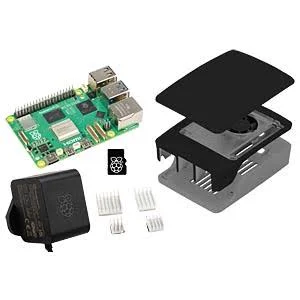
2. Install the OS I installed Raspberry Pi OS 64-bit Lite, a "headless" version of Linux with no graphical interface, designed to consume as few resources as possible. To get started, you’ll need to flash the OS onto an SD card using Raspberry Pi Imager.
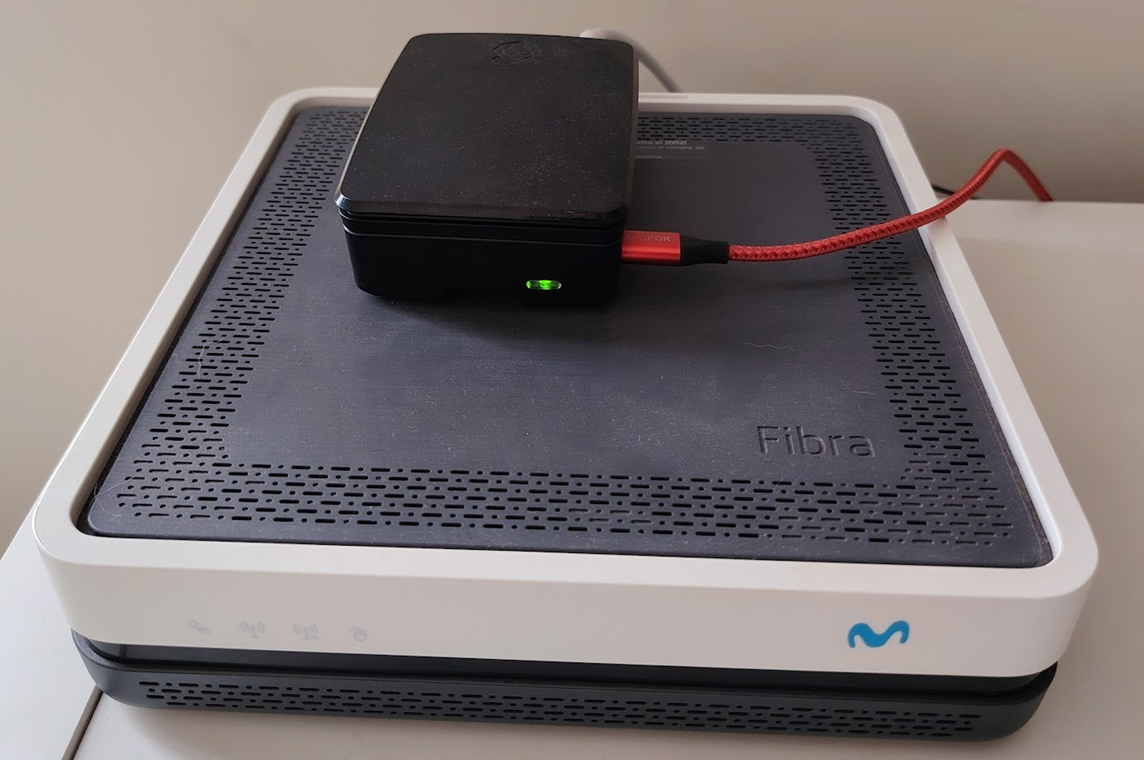
During the setup process, it is vital to enable SSH and the Raspberry Pi Connect service. If you plan to use a wireless connection, don't forget to configure your Wi-Fi credentials; however, I chose to connect my Raspberry Pi via Ethernet directly to the router for faster, more stable performance. These steps ensure your Pi connects to the network at startup so you can access it remotely.
3. Install Docker and Portainer To run multiple projects cleanly, I use Docker. It keeps every project isolated in its own container while sharing the computer’s resources. I also installed Portainer, which provides a user-friendly graphical interface to manage those containers.
4. Install Your Blog I installed the latest version of Ghost through the Portainer interface by creating a new "stack" and using a configuration code provided by your AI (Gemini, Claude, ChatGPT,etc.).
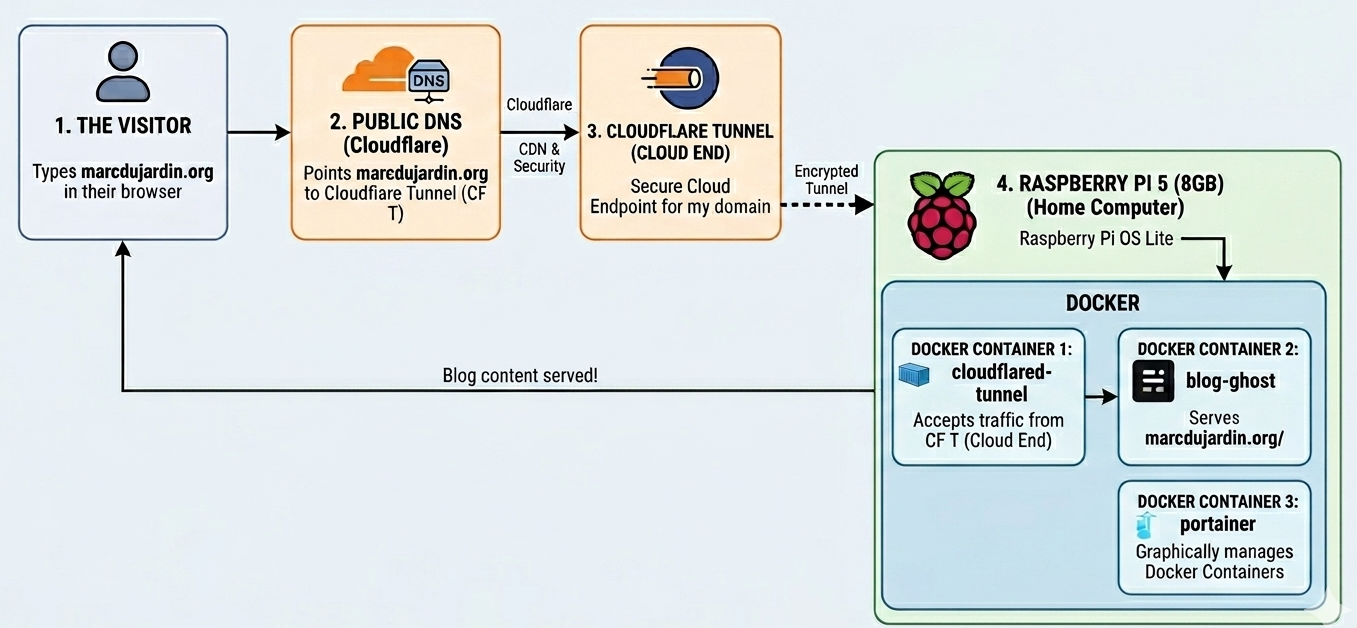
5. Domain & Tunneling I purchased the domain marcdujardin.org via Cloudflare for about $7/year. To make the blog accessible to the world, I created a Cloudflare Tunnel to securely redirect traffic to my Pi. I also recommend setting up an email redirect rule in Cloudflare so you can have a professional address, like [email protected]. Remember that the creation of your domain can take up to 24 hours. During that time your blog will not be accesible to the internet.
6. Bridge the Tunnel To receive that traffic, you must install the "other half" of the tunnel on your Raspberry Pi. I created a separate container for the Cloudflare Tunnel service using the unique token they provided. The system should look like this.
7. Configure Your Blog Finally, head to https://<YOUR-URL>/ghost/ to set up the admin panel. One crucial tip: use Code Injection to add your Google Site Verification code so your blog shows up in search results. Ghost offers plenty of templates and layouts, and I’ve been very impressed with its performance so far.
Now your blog should be ready to publish! I hope you enjoyed the process and that you learned a few things about how the internet works.

Member discussion